ASTM E662
Smoke Density Testing
REQUEST A QUOTE
ASTM E662 Smoke Density Testing
Specific Optical Density of Smoke Generated by Solid Materials
Which materials need to be tested in accordance with ASTM E662?
How is ASTM E662 testing performed?
Before the ASTM E662 testing begins, the specimens are placed into a preconditioning oven for 24 hours at 140 ± 5°F (60 ± 3°C) . After 24 hours, the specimens are moved to a conditioning environment that is held at 73 ± 5°F (23 ± 3 °C) and 50 ± 5% relative humidity until the specimens reach equilibrium moisture content as determined by weight.
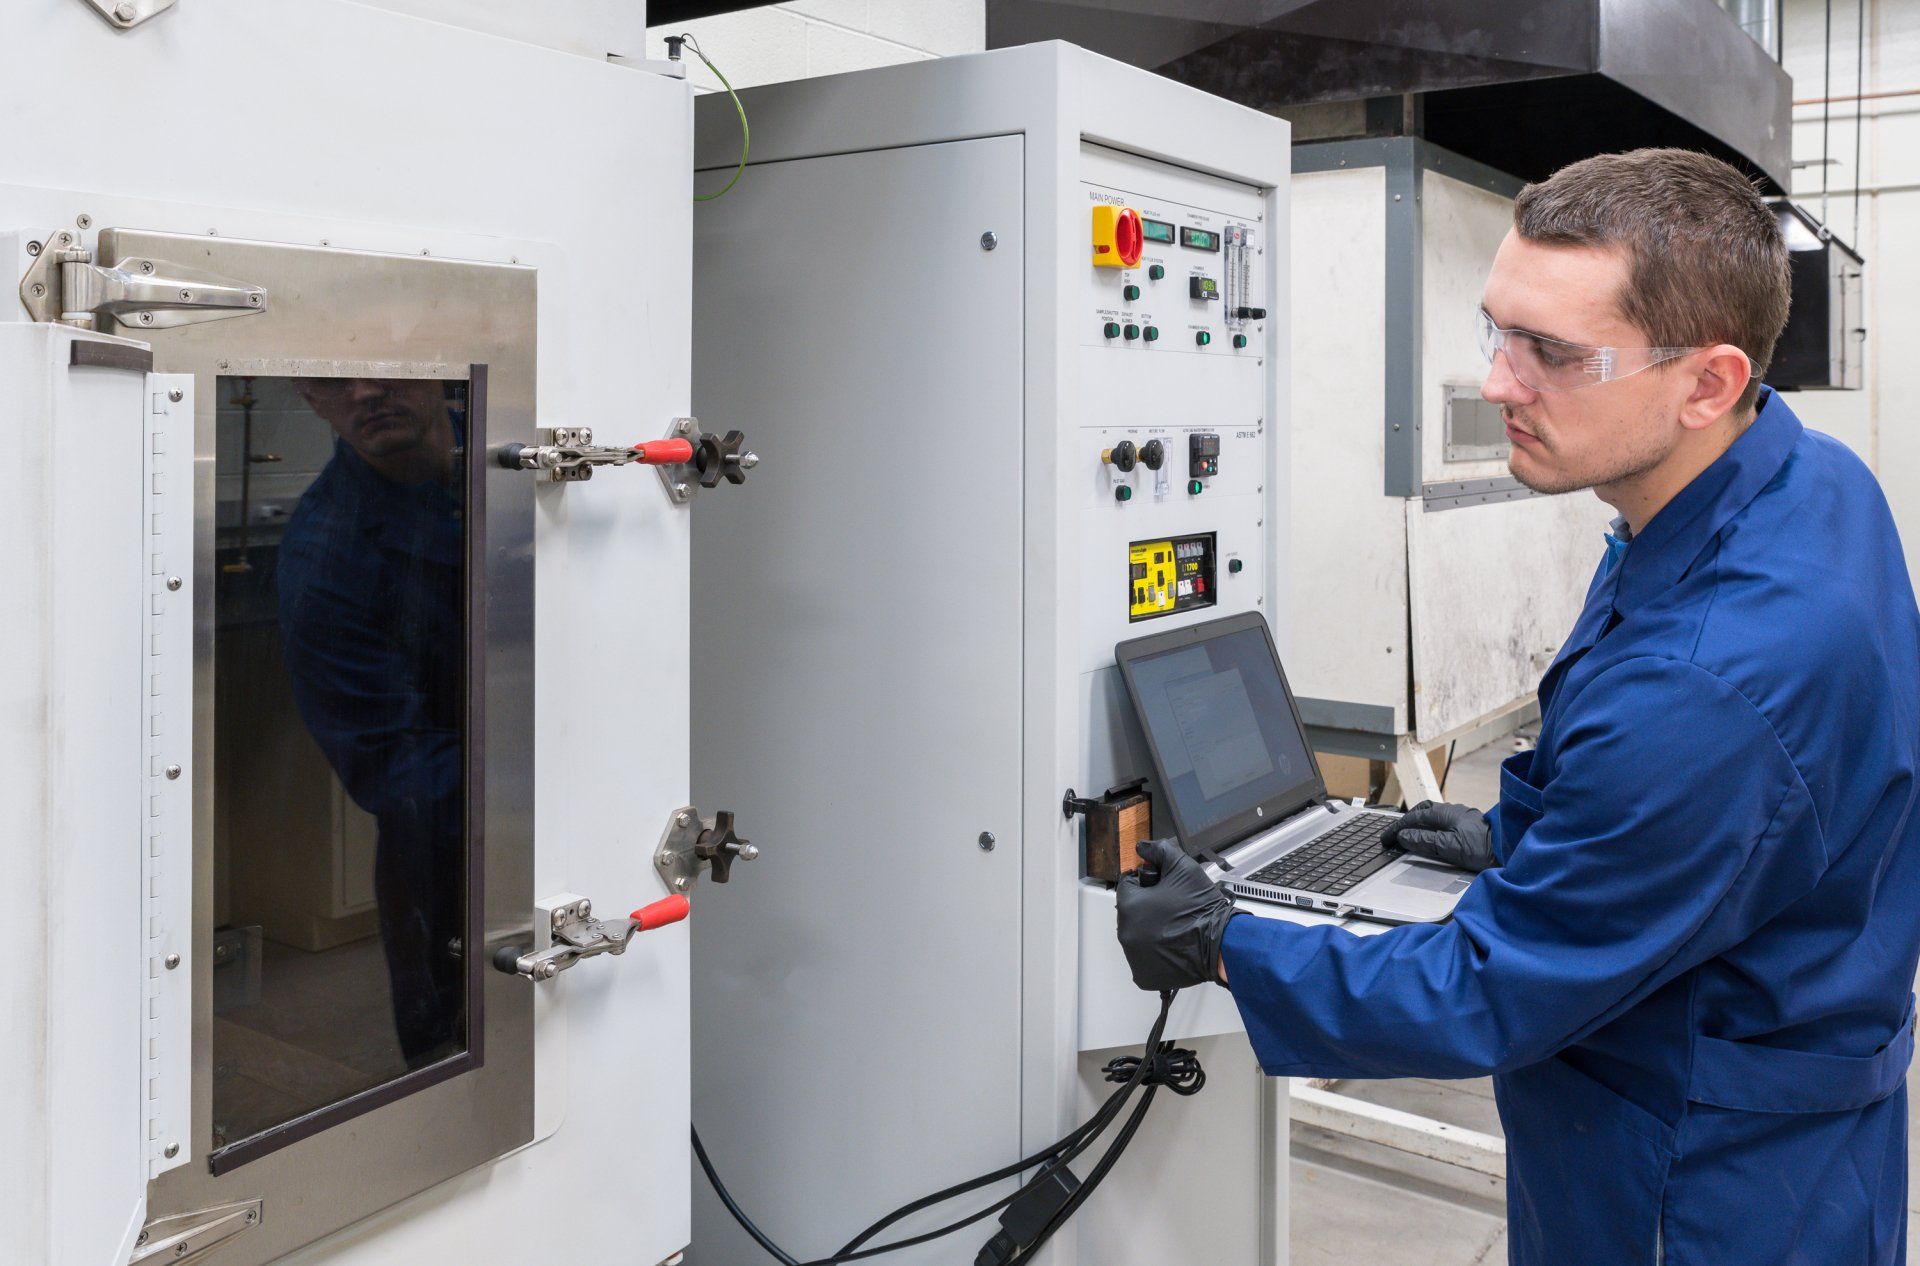
The testing is conducted in an 18 ft3 chamber with a photometric system. The photometric system consists of a light source mounted at the bottom of the chamber and a photocell mounted at the top of the chamber. At the beginning of each testing day, the chamber is preheated and checked for airtightness.
An electrically heated radiant-energy source is positioned so as to produce an irradiance level of 2.5 W/cm2 averaged over the central 1.5 inches (38.1 mm) diameter area of a vertically mounted specimen facing the radiant heater. The nominal 3 by 3 inch specimen is mounted within a holder which exposes an area measuring 2.56 by 2.56 inches (65.1 by 65.1 mm). This exposure provides the non-flaming condition of the test.
For the flaming condition, the radiant energy source is utilized, and a six-tube burner is added to apply a row of equidistant flamelets across the lower edge of the exposed specimen area and the trough on the specimen holder.
The test specimens are exposed to the flaming and non-flaming conditions within a closed chamber for 20 minutes or until 3 minutes after the minimum light transmittance value has been reached. The photometric system with a vertical light path is used to measure the varying light transmission as smoke accumulates. The light transmittance measurements are used to calculate specific optical density of the smoke generated during the time period to reach the maximum value.
What data will be included in an ASTM E662 report?
- Specific Optical Density at 1.5 minutes - Ds (1.5)
- Specific Optical Density at 4.0 minutes - Ds (4.0)
- Maximum Specific Optical Density - Dm
- Corrected Maximum Specific Optical Density - Dm (corr)
Interpreting ASTM E662 Results
ASTM E662 testing produces four values that are used to demonstrate code compliance: Ds (1.5), Ds (4.0), Dm, and Dm (corr). Regulations for the products intended application will specify which value has established limits.
Dm is the maximum specific optical density over the testing period. Dm (corr) is the corrected maximum specific optical density over the testing period. The Dm (corr) value corrects for soot accumulation on the glass between the photocell and light source. Prior to the adoption of this test method, it was customary to report the maximum smoke accumulated as Dm (corr), and for that reason it is included as a part of the test report. Subsequently, a statistical analysis of the round-robin data upon which the precision statement is based, showed that the Dm values were more uniform. Therefore, it is required that both Dm and Dm (corr) be reported.
Smoke density values determined by this test are specific to the specimen or assembly in the form and thickness tested and are not to be considered inherent fundamental properties of the material tested. Thus, it is likely that closely repeatable or reproducible experimental results are not to be expected from tests of a given material when specimen thickness, density, or other variables are involved.
The results of the test apply only to the thickness of the specimen as tested. There is no common mathematical formula to calculate the specific optical density of one thickness of a material when the specific optical density of another thickness of the same material is known.
ASTM E662 Test Specimen Preparation
Test specimens should be representative of the material or system which the test is intended to examine. The test specimens should be 3 by 3, +0, -0.03 inches (76.2 by 76.2, +0, -0.8 mm) by the intended installation thickness up to and including 1 inch (25.4 mm). At a minimum, six (6) specimens should be tested however Capital Testing recommends that Clients send in twelve (12) specimens to account for additional testing that may be necessary due to variable results and orientation screening.
The test method has proven sensitive to small variations in sample geometry, surface orientation, thickness (either overall or individual layer), weight, and composition. It is, therefore, critical that the replicate samples be cut, sawed, or blanked to identical sample areas. Specimens that include a pronounced grain pattern, process-induced orientation or other non-isotropic property, a minimum of three specimens shall be tested for each orientation in each test mode.
Download our sample preparation guide by clicking the button below!
Smoke Toxicity Testing (BSS 7239 and SMP 800C)
For some applications, smoke toxicity testing may be required. Capital Testing offers smoke toxicity testing in accordance with Boeing's BSS 7239 and Bombardier's SMP 800C. Smoke is generated and sampled while ASTM E662 or ASTM F814 testing is in progress. Additional specimens, beyond what are requested for ASTM E662 or ASTM F814 testing, are not needed to conduct smoke toxicity testing.
All gas toxicity testing is performed at Capital Testing using Dräger colorimetric pull tubes. The pull tubes change color when a specific gas reacts with the solid inside the tube. The length of the coloration or “stain” is proportional to the concentration of the gas when a fixed volume of sample gas is drawn through the tube. Dräger pull tubes are used as a semiquantitative indication of the presence of the particular gas.
Is Capital Testing an accredited ASTM E662 laboratory?
Capital Testing and Certification Services is ISO/IEC 17025 accredited to conduct ASTM E662 testing. ASTM F814 and 14 CFR Part 25, Appendix F, Part V are also covered under Capital Testing's scope of accreditation. Click Here for Capital Testing's full ISO 17025 scope.
Contact chrisp@capitaltesting.org for more information about ASTM E662, ASTM F814, or 14 CFR Part 25 smoke density testing.


